Wednesday, October 7, 2015

Another Gelatos card ...

This card is the same technique and stamp as Mei Mei's birthday card from last year, but I thought I'd share this anyway.  It was also done last year ... just never got around to posting it.


Since there were a few people signing, I decided to make a card with more space ... basically, three 6"x6" panels ... minus the border and flower :)


Here's a picture of the inside of the card completely opened ...

Sunday, March 8, 2015

Another box ...

Whether it's using a box die or a score board, it's one of my favourite things to make ... boxes!  It was the same when I started Origami ... I made so many boxes ... various sizes, colours, shapes ... square, triangle, hexagon, octagon :)

Anyways, here's a box I made a couple of years with one of the Sizzix box dies that I have.  I found this post in "draft" and thought I would share this with you anyway.  I've done several boxes with this die over the years ... I'm definitely getting my money's worth on this die ;)  This was for a friend's birthday ... I used the embossing folder from Spellbinders "Awesome Blossoms".  I seem to have this thing for Asian style stamps, embossing folders, etc.  I just can't stop myself from buying them!


I just love this stamp from the Wild Rose Studio stamp set "Birthday Circles".  I have 2 other similar stamp sets ... they're great for tags and as a seal on an envelope!

Sunday, February 15, 2015

Christmas funshop ...

Before the holidays, I manage to squeeze in a funshop at work.  Initially, I wanted to try and do 2 funshops but only had time to do 1 ... this was definitely not due to a lack of ideas :)

Anyway, I decided to do a wine bottle tag and gift card holder ... something I thought would be useful for most people and also different from making a card.  I kept it simple as I wanted to ensure everyone had time to finish both items.


I decided to prepare "kits" where I basically put all the pieces in a plastic bag except the circle piece for the gift card holder and the oval piece for the wine bottle tag.  I decided to leave them out, so that people can choose the sentiment they wanted to stamp.  This worked well, so I think I will be doing this from now on.  I had pre-cut and embossed everything as I really couldn't bring my Big Shot to work as initially planned ... it was just too heavy with everything else that I was bringing!

Here's some close ups of the wine bottle tags. 


Here are the tags in action :)


For the gift card holder, I basically used the We R Memory Keepers envelope punch to create the appropriate size envelope.  I even made an envelope liner, so that you can write a message to the recipient.  You can't see it, but I embossed the flap of the envelope as well.


The front of the gift card is decorated with scrapbooking paper with a solid colour mat, and of course a belly band matched :)


I added an embellishment on the center of the snowflake ... I find it gives it something ... nothing too flashy.


Saturday, February 7, 2015

More notebooks ...

As I was making a few notebooks to include in my neighbor's daughter's birthday gift, I decided to cut some extra paper to make a few additional notebooks.  I wanted to replenish my stash of notebooks, so I have some on hand in case ... ok, so I made a little more than I intended ... in all 25 notebooks!  Well 4 of them are for my neighbor's daughter :)


The amazing thing is that I still want to make more!!  I actually picked out some other colour cardstock :)

Sunday, February 1, 2015

Birthday gift ...

During our vacation last year, we went for dim sum and dropped by a store I found that sells bags, boxes, ribbon, etc.  Basically, it's a place the sells items for packaging.  I went there to get some plastic bags to store some of my dies.  They were still in it's original plastic packaging and a few just stuck on the piece of cardboard ... anyway, I wanted to put them in plastic bags, so if the dies fell off the cardboard, I would not need to fish for them at the bottom of the container.  In the end, I found the perfect size bag, which takes a lot less room ... reduced by 50%!  Hubbie asked if that meant I would be buying more stuff now!  What a great idea ;)

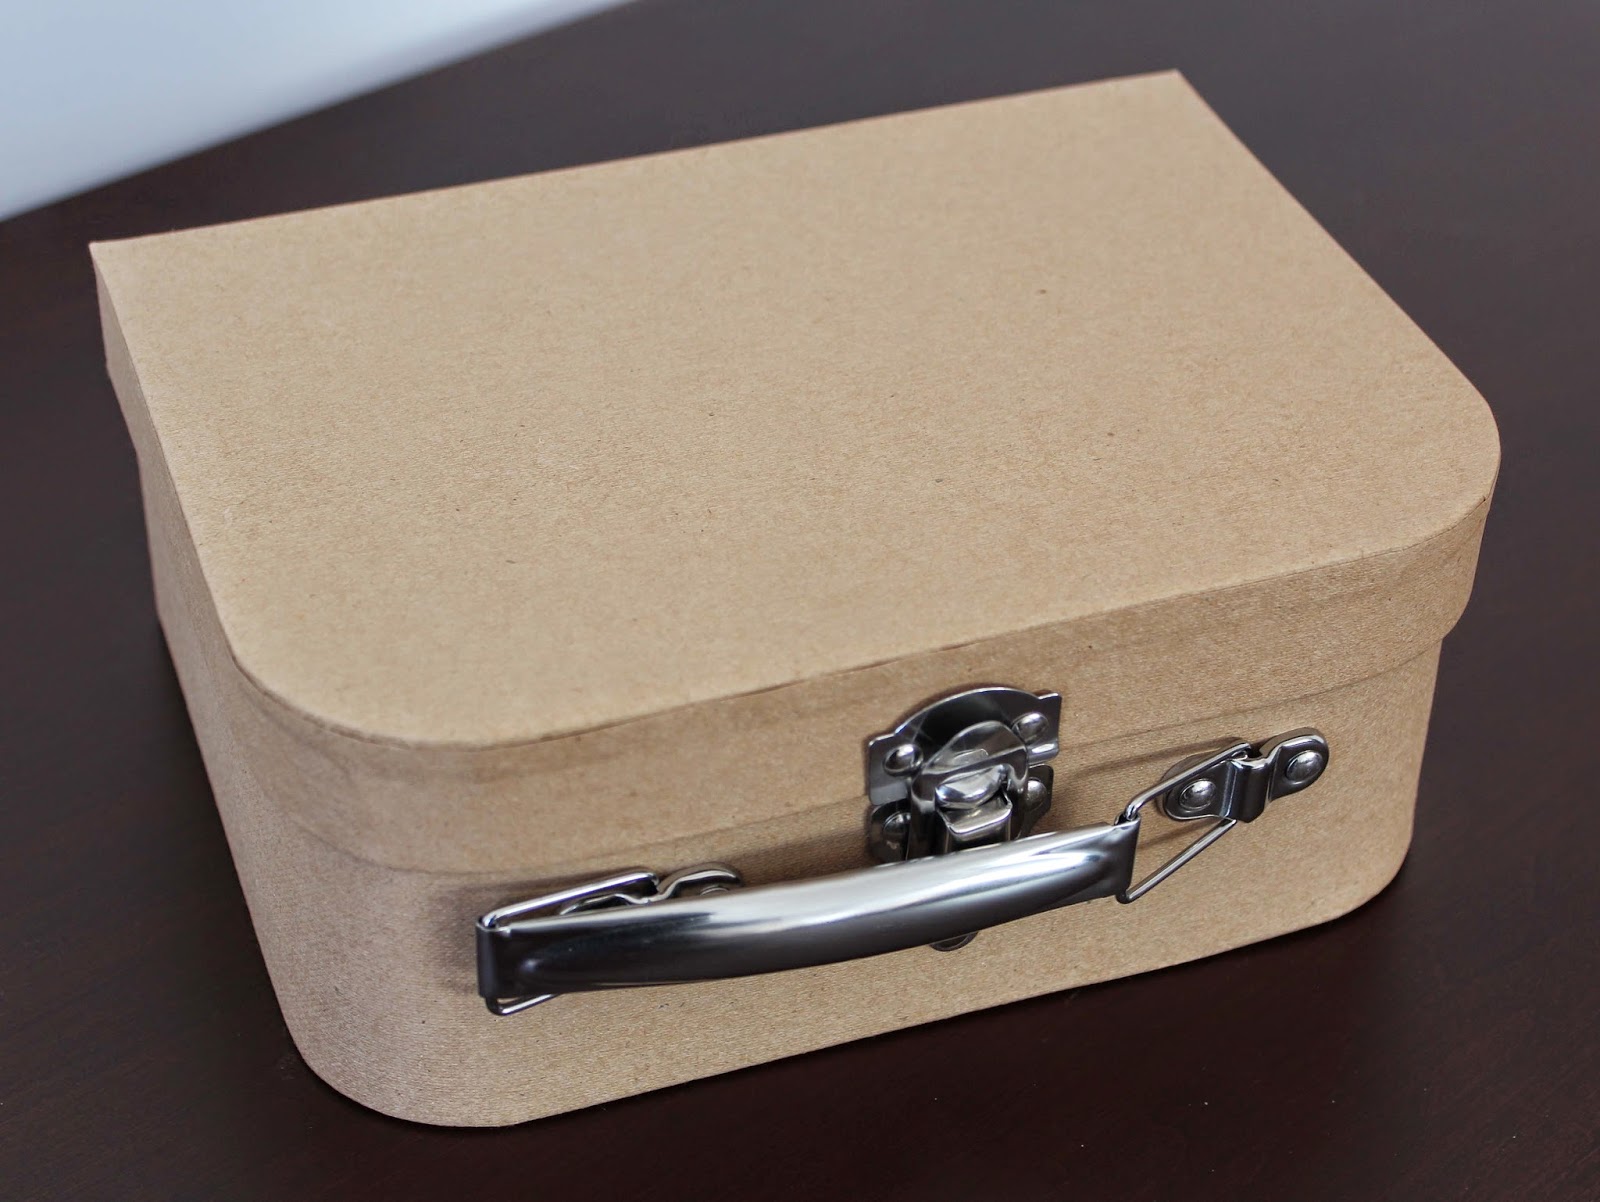
Anyway, I also bought this lunch box from the store for my neighbor's daughter.  Initially, I was going to decorated and fill it with craft things, but I figure it would be more fun if she decorated it herself ... a project she could do with her mom on a rainy day ... or these days a snowy day!  I got the smaller one since they did not have any of the larger ones left at the time.  The smaller one measures 7.875"x5.87"5x3", so it's still a good size.  Isn't it cute :)


I included 4 notebooks ... the 2 larger ones are made with 110 lb watercolor paper, so she could draw and color with various medias.  The smaller ones are just for her to write little notes or make mini cards with.  The initial 2 notebooks I made with watercolor paper did not fit in the lunch box, so I made 2 other ones to fit perfectly in the lunch box.  I know I could have just not put them in the lunch box, but I had my heart set on putting everything in the lunch box ... yeah, I'm a bit weird!


I decided to include some of these stickers that I got during a sale at Magenta a while back.  She could use them to decorate the lunch box.  I hope I didn't give these to her last year ... I forgot to do a post last year to include everything I gave her, so I can't refer back to the post ... oh well.  However, I don't think I gave her any stickers last year ... well if I did, who doesn't love stickers!


I remember when I was younger I loved stickers ... who am I kidding!?  I still do ... I just don't really use them anymore.  This reminds me of a gift one of my aunts gave us ... I was so thrilled by it when we go it ... personalized stationery and stickers!!  I think it was my Aunt A ... I confirmed with my sister, who remembers it being Aunt A as well :)  We had some good times in Ohio when we were kids ... memories are mushed and blended together ... but they are great memories and we were lucky our aunts and uncles took the time they did to give us those wonderful memories ... thank you!!


Ok, back to the gift ... I included this cute little stamp that I bought at Fran's sale.  Fran's a fellow instructor at the scrapbooking store I "teach" at (I put teach in quotation marks as I have only had time to teach one class ... however, I do intend to give more classes!)  I went to the sale really to see Bonnie but figure I would browse to see if I could find anything to include in the lunch box and for Tiffany :)  The stamp is brand new ... either that or she cleaned it pretty well after using it.  It was $2 ... what more can you ask for!


I included some embellishments ... little flowers and pearls, which she could also use to decorate the lunch box.  I chose pink since she likes pink ... hubbie calls her "little pink" since she's dressed in pink most of the time ... lol ... oh and her mom is "mommy pink" :)


I decided to add a bunch of die cuts for her.  When I did the craft activity for her last birthday, I had a bunch of die cuts left ... I asked her mom if they could use it as I could just make more when I need it.  Her mom said that she would definitely use it, so I know she would have fun with this :)


I included this tube of glitter I found at Dollarama ... I find glitter gives your projects that added wow factor.  Oh and of course, it's pink!


While I was going through my stuff, I found more stickers to add to the gift.  I decided to make an envelope for it since I did not have the perfect size bag :)  I just love my We R Memory Keepers Envelope Punch Board!!


Lastly, I got the idea to make her a gift card which allows her to come over and craft at The Paper Room.  I remember she loved playing in the room when she and her mom came over to work on her birthday invitations last year.


Of course I made a gift card holder for it ... in the birthday girl's favourite colour :)


It's basically an envelope with the flap embossed.  I made it ... yes, that's right ... with the We R Memory Keepers envelope punch board :)


Saturday, January 24, 2015

Maculine birthday card ...

Even with all the stamps I have, I always find it a bit of a challenge to make a masculine card ... especially, when I'm trying not to use any of the Penny Black Inc. or Stampscapes stamps.

After looking through my stamps and dies, I finally settled on using this stencil from Tim Holtz.  Basically, I taped the stencil down with painter's tape on Neenah Solar White cardstock and applied Distress Inks using the mini blending tool.  I just love that tool ... it's so easy to add colour!  I opted to omit spraying the piece with pearlized water since it is suppose to be a masculine card.  Hubbie thought it was a wise decision :)

Here's the final result ...


I love how the 2 colours blend together.  The mini blending tool makes blending so easy!

Saturday, January 17, 2015

Something different ...

My colleague at work does stain glass at this place in Old Montreal.  She asked me and another colleague if we would be interested in taking a Mosaics class.  I figured why not ... so in December, I had the opportunity to work with a different medium ... glass!

We had the choice putting pieces of glass on glass or wood.  I opted to do glass on wood ... no, it's not because I need to use some form of paper or something when I create :)  It was for a practical purpose ... I could use the finished piece as a coaster ... instead of just a decorative piece with the glass on glass.  I think that's another thing I get from my mom ... practical ... sometimes ;)

The 1st step was to draw a design for your "masterpiece" (I'm using this word really loosely!).  I knew what I drew would be just the idea, and it would definitely not be exactly like that ... at least that was what I was hoping for.  My drawing was very geometric ... and quite primitive as you can see!  I just wanted to get the shapes down ... I really did not know what I was doing :)


The end result is definitely not like the drawing ... thankfully (I think)!  However, you can see the basic idea is there.  We had a lot of fun chatting while we cut and glued the glass.  I would definitely consider taking another class ... but I don't think this would be a new hobby as I would have to sell off my paper and stamps to make room, which I'm not willing to do!  Hubbie said I can only fill up one room in the house :)

Saturday, January 10, 2015

Box inspired ...

After making those boxes for the chocolates over the holidays, I was inspired to make some containers for my alcohol inks.  I'm been looking for a container the would fit my alcohol inks perfectly for some time now.  I was going to get this tin container I saw at Emballage Tout but decided to see if I had something better at home ... I did ... paper :)

Yup, I made a container ... 4 to be exact ... to store my alcohol inks.  Guess what, my inks fit perfectly!!  I started by grouping my inks to figure out the size of the container.  Using the thickest watercolour paper I had, I cut, scored, and decorate ... there you have it!


I decided to emboss the piece of brown cardstock I put on the sides to give it a more decorative look, but the real purpose is to reinforce the sides to make the container sturdier.  I also put a piece of cardstock at the bottom.


Between my new containers and the Distress Inks, I had my mini blending tools ... so, I decided to make a couple of containers to put them in :)


I decided to put the same brown cardstock on the sides ... matching set :)  I just love these mini blending tools ... they make blending inks so easy!


Everything in it's place :)  Is this not great?!  I just love organizing ... yes, I'm weird I know.


I ended up making 3 more containers to store my reinkers :)  They are stored in a desktop cube with 9 compartments that I got from Michaels.  With these containers, my reinkers are more easily accessible as I can now just pull out the container and get what I want instead of taking each item out one by one!  I haven't made any containers for my stickles at the top, but it doesn't mean I won't in the future :)


Da dum ... easy access!

Sunday, January 4, 2015

Boxes ...

For a few years now, hubbie and I buy Lindt chocolate and put them in handmade boxes as a little treat for the family during the holidays.  I try to make different boxes from the previous year or at least decorate it differently.  This year, I decided to make a box with a separation inside the box.

Here's the 1st box I made for Stephane's mom ... my mom asked me to get a box of chocolates, so she could give it to Stephane's mom since she was joining us for the family dim sum on Christmas day.  I based the colour scheme on the gold ribbon I wanted to use :)  I ended up using the paper I used for my brother's wedding invitations.

I embossed the paper with snowflakes to go with the holiday theme :)


I made dividers to separate the box in 4 sections ...


I put a ribbon and tag on the box ... and all done!  I love this paper ... depending on the angle the light hits the paper, you get different colours :)


I made a few more boxes ... for Mei Mei & Stephane, my brother & Holly, my mom, and my dad ... so another 4 boxes.  I must admit I had a lot of fun making them ... I still wanted to make more but then what would I do with the boxes!  I guess I'll wait until next year to get it out of my system :)

I made 2 boxes with a thick scrapbook paper that I got on sale from Michaels.  The paper on this 1st box already had glitter on it, so I did not need to add any :)


I just love the stamp I used for the tags.  It's a stamp set from Wild Rose Studio ... I love their stamps!


Here's the 2nd box ... I added some stickles to the center of the snowflakes, but I don't think you can see it.  I love this colour combination ... the paper is from the same pad of paper as the one above, which is why the similar colours.


I decided to use a more traditional colour scheme for the other 2 boxes ...


I added some stickles to the white part of the stockings and the center of the snowflakes but did not retake the pictures.