Sunday, April 27, 2014

Papertrey Ink's Rainbow Stripes die ...

Figure it was time to use, some of the many dies that I recently bought from Papertrey Ink on a card instead of just die cutting them to get rid of my scraps of paper :)  It was the Rainbow Stripes die that initiated this ... I wanted to make a colourful card ... then I decided to incorporate some other dies.  I added one of the "birthday's" from the Birthday Trio Die Collection.  Since it look like something was missing, I decided to add a few balloons from the Birthday Style Die Collection and stamp happy on them.  Well, here's the card ... what do you think?


Since I die cut the Rainbow Stripes die on 5 different colour cardstock, I had some remaining stripes as I only needed one of each colour for the card.  Of course, I was not going to waste it :)  I decided to use them to make other of cards.  The style is the similar to the initial card.  I just love sentiment dies ... gives the card a different look and I don't need to die cut each letter :)


It's always good to have some extra cards on hand :)

Sunday, April 20, 2014

Tiger Lily cards ...

In an "attempt" to try and catch up with my purchases, I'm trying to use as much as I can ... key word being "trying" :)  Yeah, I know ... it will take A LOT of crafting time for me to catch up ... so many products and not enough time in the day!!!  I think I need a crafting vacation :)

I made 4 cards using the tiger lily image from the Flourishes stamp set "A Year in Flowers 2".  I stamped the image and a sentiment on the Papertrey Ink Mat Stack 3 die, which I die cut on Neenah Solar White cardstock.  I die cut the slightly larger Mat Stack 3 on orange cardstock to create a mat for the image.  I wanted to do something to the background as leaving it blank seem like something was missing, so I decided to emboss it ... I find it adds something but is subtle.


Here's a close up of the 4 cards ... I don't know if you could see the embossing on the paper.  I just love the look of dry embossing on white paper!!


Sunday, April 13, 2014

Fun with Fun Flock!

When I first saw Fun Flock at my local scrapbook store many years ago, I wasn't sure what to do with it.  I decided to try it out by doing a "make 'n take" with it.  The "make 'n take" was an Easter basket with a bunny on it ... I had the customers put Fun Flock on the ears and feet of the bunny.  It's actually quite easy to do ... we applied some glue with a glue pen and sprinkled the Fun Flock on the glue, shake off the excess, gently rubbed my finger over the flocked area to remove more excess ... and there you have it ... a soft bunny!  Sorry .... I don't have a picture as I left the sample with the store.

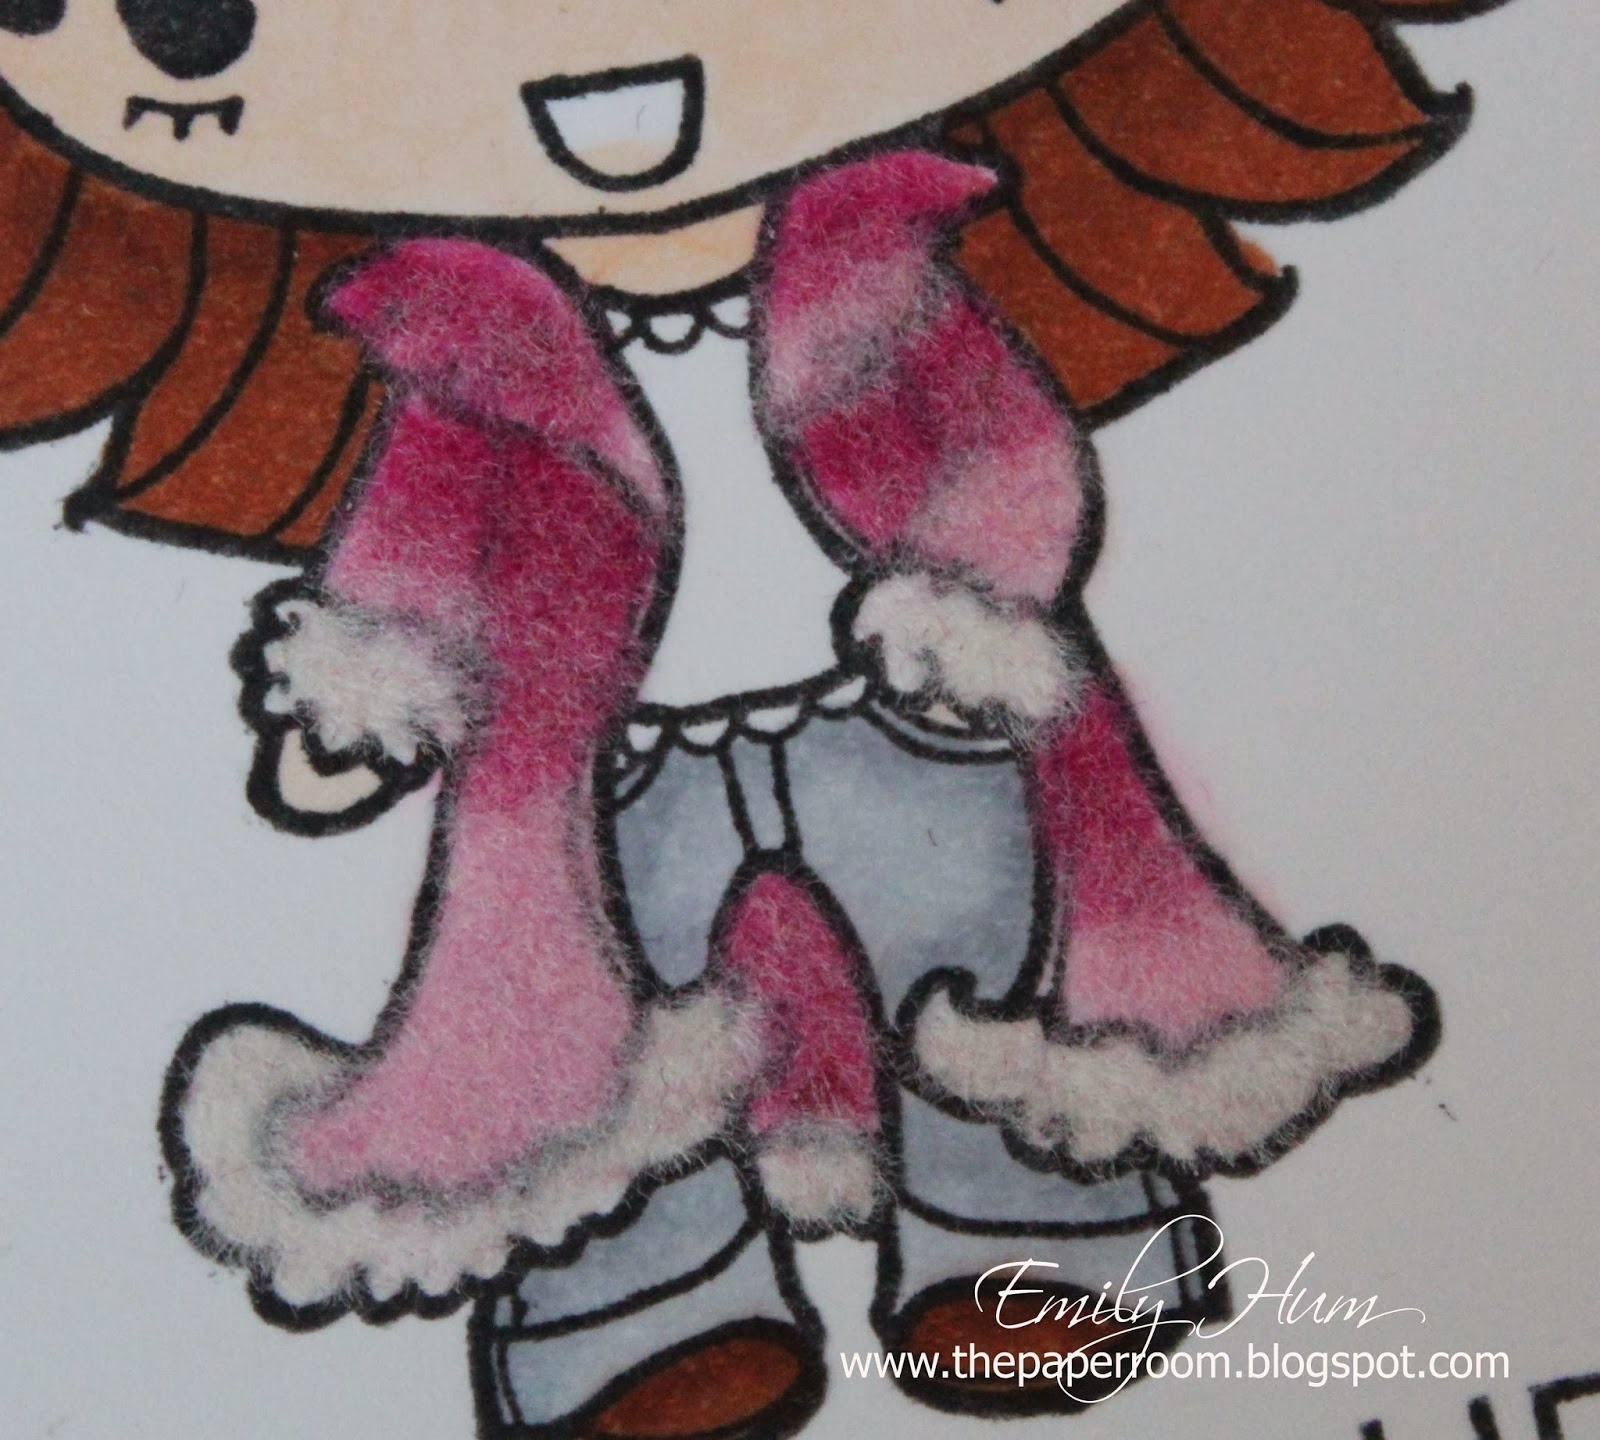
However, I do have pictures of a couple of cards with Fun Flock.  I colored the images first and then apply the Fun Flock.  I added the different colors one at a time to give the look of a gradual change in the color.  My advice would be to get a few colors and white ... this will allow you to get different shades by mixing white into the color.


On this card, I add the fun flock on the head band and the collar and detail across the dress ... not sure if you could see this.


Here's another card where I used the fun flock on the whole jacket.  
 

Here's a close up of the jacket ... I think you could see the texture more easily on this one.

Sunday, April 6, 2014

Pop-up Card ...

Here's a couple of cards I made some time ago ... it's basically the same concept but with a different image, colour and pattern paper.  You know when I say I don't like to waste anything ... well, I wasn't kidding!  The paper I used for this 1st card comes in a pack of 6 sheets.  There's a little piece of paper that shows the different sheets you're getting in the pack ... I actually used it for the outfit on Sake Ketto!  It was a perfect match to the background of the card :)


Here's the first card ...


If you pull on the ribbon, the card slides open and you see a hidden message :)


The image stands up when you put the ribbon.  Also, I don't know if you could see it well, but I put foam dots on the outfit to give it some dimension.


Here's another one using paper from the same pack of paper.  I decided to try to make a tab to pull out instead of a ribbon.  I'll need to make the card 1/4" smaller when I do this, so that it fits in a regular size envelope.  No big deal for this card since it's going to be my sample ... then again I guess I could always make an envelope for it :)