Friday, April 26, 2013

Another card set ...

Using the Birthday Circles stamp set from Wild Rose Studio (www.wildrosestudio.co.uk), I made another card set.  I love this stamp set ... I actually got a few of their circle stamp sets.  They're great as a seal, embellishment on a card, on a tag, or as the main focus of the card.


Here are the cards I made ... as you can see the images of the Birthday Circles stamp set were the main focus of the card.


I embossed the front of the card with the Craft Concepts' Cherry Blossoms embossing folder, which I bought when we were in Nova Scotia.  Here is a close up of the cards ...


Next, I layered strips of paper across the center of the card ... I actually put a strip of white paper between the 2 coloured strips ... yeah, I'm still trying to use up those scraps of paper!  I layered the sentiment on coloured cardstock and then on the smallest Lacey Circle ... I use this Spellbinder die quite a lot ... it's one of my favourite dies!  I didn't emboss the sentiments, but I think it still looks nice :)


I love the look of the card ... it's simple ... in case you didn't notice, I like simple things with just the right touches :)

Sunday, April 21, 2013

Card sets ...

Awhile ago (probably 2-3 months ago), I decided to make some cards with some of the Flourishes stamps sets that I got while we were in Nova Scotia last year.  I die cut 15 of die A from the Papertrey Ink "Sending You" die collection.
Sending-You-dies 

I used 2 images from the "A year in Flower I" and 1 image from "Botanical Bookplates vol 2" and stamped each image 5 times.  Using colouring pencils and solvent, I coloured the images different colours.  I just had the leaves on one to finish colouring and then I would be able to finish the cards.


Well, I finally finished colouring and made the cards while I was on vacation a few weeks ago!!  I love using this technique ... it's very forgiving.  If you colour over the lines or something too dark (which was my case for 1 of them), you can use an eraser and re-colour ... even months after you coloured it :)


You'll notice that I have strips of paper going across the center of the card.  It seems to anchor the image and allows me to use some of the scraps of paper I have ... and believe me I have a lot!  Here's some pictures of each stamp set and a close up of a card from each set ...


I think the tulips set is my favourite ... for some reason, I love tulips :)


Intially, I planned to stamp the same sentiment for each set. However, when I got to the last set, I decided to stamp different sentiments.  I don't know which is better ... anyway!  Another option would be to have different flowers in the same set with a different sentiment ... the possibilities are endless!


Saturday, April 20, 2013

Hexagons ...

Sorry for going MIA again ... I meant to post some cards I made while I was on vacation, but I'm not sure where the time went.  Anyway, here are a couple of cards I made with the Hexagon die from Papertrey Ink.  It's a great die ... covers the whole front of a 4.25" x 5.5" card.  I think the longest part was matching the pattern paper back to the correct spot after I decided to leave some hexagons in. 


With the second one, I tried to carefully pop out the outline only when removing the it from the die.  Unfortunately, some of the hexagons popped out as well ... more matching ... it's a good thing I like puzzles :)  Here's a close up of each card ...


I die cut this die on white card stock and stuck 2 layers on some of the hexagons, so it would look elevated ... giving the card some dimension.  I really like the way that looks!

Tuesday, March 26, 2013

Hello there ...

Hi everyone!  Sorry for not having posted in a while ... time sure goes by quickly!  I can't believe we're already heading toward the end of March.  I guess that's what happens when you're busy ... you don't see the time go by.  I don't really have any craft share today ... just thought I'd pop in to say "Hi".  However, I do have this to share with you ...


Some of you can probably guess who's handy work this is :)  I'm pleased to introduce to you another one of hubbie's creations.  Yup, it's a rubber band ball that he started many years ago (he can't even remember when).  Anyway, I haven't seen it in a long while, so he sent me a picture of it.  It has definitely grown!  BTW, those are the safety glasses he wears when he goes into the plant, so you can imagine how big it is.  It definitely gave me a good laugh when I saw it!

Saturday, February 23, 2013

New additions ...

So, I've been looking for a better way to store my markers without taking too much room.  Since hubbie doesn't want me to finish the basement and turn it into a big craft room, I have to ensure my storage solution makes the most of the space I have ;) 

I've seen a cubbie from Studio 3 Solutions (http://studio3solutions.net/Color-Cubbie-CC1211.htm) that is perfect for markers.  However, it would need to be shipped from the US, so I can only imagine the shipping cost.  I decided to keep looking ... I've also seen other crafters storing markers and other stuff in this desktop carousel from Michaels.  However, I wasn't sure if this was the best solution for me.

Before the holidays, I saw a cubbie at Michaels at 50% off.  Unfortunately, there weren't any left :(  ... so the search continued.  Last weekend, I saw the craft storage solution items were 50% off again.  I had the intention of getting the desktop carousel and a 3 drawer organizer.  My idea was to put the desktop carousel on the 3 drawer organizer, so that it would be out of the way.  However, after reflecting some more, I decided not to get the desktop carousel.  I thought I would just get the 3 drawer organizer for now ...


Then I saw the 9 cube organizer ... yaay!!


Here's a picture of the 2 new addititions in their new home :)  You probably think I'm silly, but I really like the 9 cube organizer. 

BTW, here's my economical way of storing my markers previously ... I've been using the containers that my Prima flowers came in :)  It wasn't too bad ... however, I prefer the new storage solution ... plenty of room for more markers :)


Sunday, February 17, 2013

Cool pic from Aunt T ...

My Aunt T sends me the coolest pictures ... first, it was this one when she was in Dubai in 2011 ... http://www.thepaperroom.blogspot.ca/2011/05/isnt-this-cool.html. On Thursday, she sent me this one ... pretty cool, huh?  Of course, I like the shape of the box ... cool packaging!


It reminds me of a die I recently bought ... Memory Box's Mini Takeout Box die.  I was playing with it last weekend ... unfortunately, it's not big enough to fit cookies in ... unless they're tiny cookies.  Hmmm ... or maybe I should learn how to make chocolates :)  Yeah, I'm sure hubbie would love it if I took on another hobby (and took over another room in the house) ... LOL.  The finished size of the box is 1.6"x2.1"x1.75".  It's perfect for a party favour or wedding favour.  To be honest, I didn't really have a plan to use it for something specific when I ordered it ... it's not like we throw parties!   However, it is so cute I just couldn't resist buying it :)  I'm sure I'll find some use for it later on!

Anyway, I played with the die a bit last weekend.  I cut the die out and was to anxious to see what it look like that I folded the box before decorating it :)


I decided to emboss the sides with the Leafy Vines stamp from Hero Arts.  It wasn't too difficult to stamp it even though I folded the box already.  I used some post-it's to mask the other areas since I did not want the image there (... don't mind the names on the post-it's ... I previously used them when making Christmas cards for my old team).  As you can see, I stamped 2 sides at the same time and then I repeated the same thing for the remaining 2 sides.
 
Leafy Vines picture  
Isn't this just adorable!  I thought it would look nicer with a ribbon than a wire handle.  I guess I had a wedding favour in mind when I was making this.

Friday, February 15, 2013

Happy Chinese New Year!!

Gung Hay Fat Choy!!  Yeah, I'm a bit late :)  Hope you all had a great day ringing in the Year of the Snake.  All the best for a wonderful year!! 

We went to my parents' place for dinner to close the year last Saturday.  As usual, dinner was great ... lots of food!  We had some snacks before dinner ... had dinner ... then my mom brought out some fruits.  Of course, we were too full to eat anymore.  However, she pack food for all of us to take home!

We sat around the table and chatted ... and played with the fruits ... yeah, it doesn't take much to amuse us!


No need to ask "Didn't your mom teach you not to play with your food!?"  She was playing too ... see that's her in the background ... she just finish putting them in position for the picture :)

Saturday, January 26, 2013

Another quick card ...

Here's another quick and simple birthday card using scrapbooking paper. 


I went through the packs of scrapbooking paper I had to see what I could use.  I found a few sheets from Kodomo Inc ... I didn't even remember I had this :)  The paper is like a chinese painting.  I decided to cut the top left out just for the flowers since I wanted the purple-bluish flowers in the card.  I'll probably use the rest of the paper for other cards :)

As usual, I mounted it on coloured cardstock and then on the white cardstock.  I got the coloured cardstock on sale at Michaels ... it's not the best paper, but I bought it to see if the quality is decent to use as I liked the colours it came in.  It is if you are using it to matte your main image, which is what I'm doing.


I added some stickles to the flower to give it some shine ... and I'm sure you guessed that I embossed the sentiment ;)

Sunday, January 20, 2013

Just a quick card ...

Here's a quick birthday card I made using scrapbooking paper.  I have so much paper that I thought I better use some of it up. 


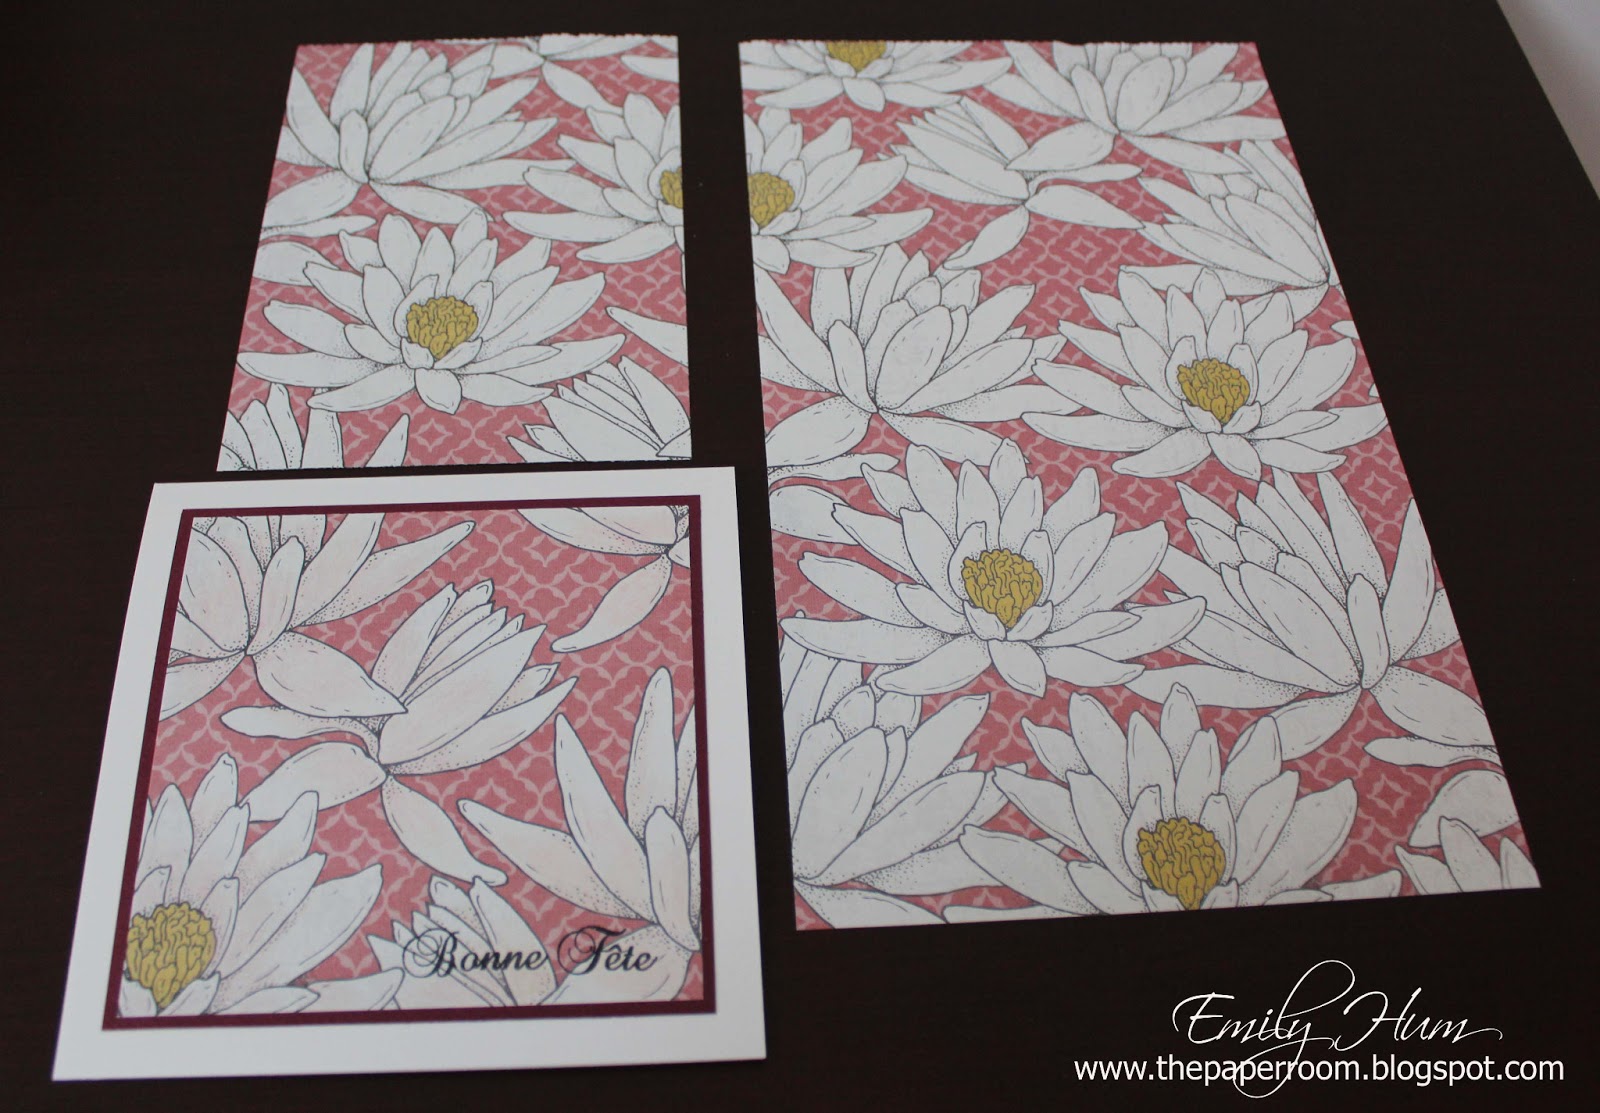
Here's what the whole page looks like.  I decided to use the bottom left of the page as I would have a place to stamp the sentiment on the bottom right.  I'm not sure if you can see, but the flowers were initially white ... so I decided to add a bit of pink to the flowers.
 

Then I mounted the piece of scrapbooking paper on burgundy paper and then on the white cardstock.


Here's a close up of the flowers ... you could see a hint of the pink on the flowers, which I coloured with colour pencils; and of course, I embossed the sentiment.

Wednesday, January 9, 2013

4" Square Box ...

Didn't really do any crafts specifically for the holidays.  I made the usually box for the Lindt chocolate and a tag for the bottle of brandy Mei Mei bought.  However, I wanted to make another box for Mei Mei but didn't feel like making the same box ... besides, they already got one last year.  I know I could have decorated it differently ... but that would be boring.

Anyway, I decided to use my Martha Stewart scoring board and make a different one.  I wanted to make a square box ... and figured a 4" square box would fit 20 chocolates nicely.  It was pretty simple ... once I figured out the size.  I just needed to score, cut and stick ... then I cut, embossed and stick the blue cardstock on the box ... filled it with chocolate ... added the ribbon and tag and there you go!


Here's a close up of the tag.  Yeah, I probably should have re-inked my ink pad before stamping ... oh well ... I think it still looks ok.  I used one of the new stamp sets I got from Wild Rose Studio (www.wildrosestudio.co.uk) called Christmas Circles.  They have a few stamp sets of sentiments in a circle format ... great for cards and as you can see for tags as well.  I love their stamps!